Introduction
In a recent project, I'd like to share the experience and insights gained while adding keyboard support to navigation buttons within a modal.
The Problem: Lack of Visual Feedback for Keyboard Navigation
When users navigated with arrow keys, there was no visual feedback. Clicking with a mouse would trigger MUI's ripple effect, but keyboard input produced no response, which I thought would confuse users. So initially I tried simply scaling up with CSS, but it felt inconsistent from a UX perspective, and the UI didn't look right either.
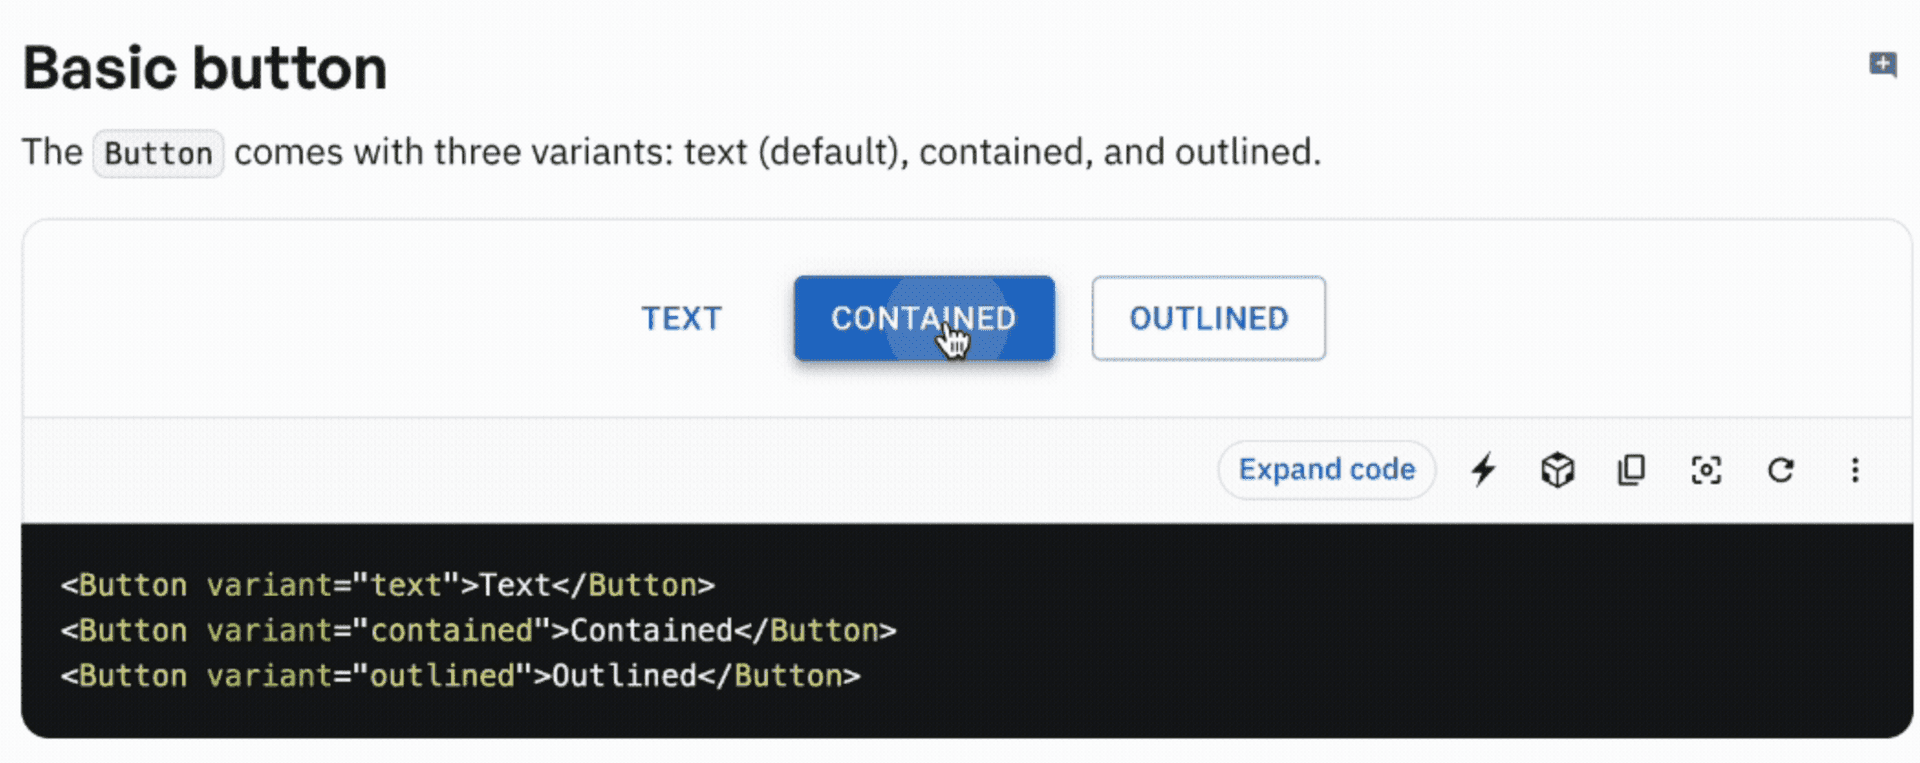
(MUI's Ripple effect on click)
So I set the following goals and proceeded.
Technical Challenges
Integration with MUI's ripple system: Needed to trigger MUI's built-in ripple effect via keyboard events
Consistent user experience: Mouse clicks and keyboard input should provide identical visual feedback
Reusability: Should be easily applicable to other buttons
First Approach: The Trap of Over-Abstraction
Initially, I designed a complex architecture thinking it would be great to add Ripple functionality to the existing Button Component. I considered creating a useKeyboardRipple Hook and connecting a trigger to it, but the following problems emerged:
Excessive complexity: Too many files and logic needed for a simple feature
Props Drilling: Refs needed to be passed through multiple layers
Learning cost: A structure difficult for new developers to understand
Maintenance burden: Even small changes required modifying multiple files
So I realized it was over-engineering and started thinking about how to simplify it. I decided it would be better to split buttons into two types: buttons that need keyboard behavior and those that don't, with ripple functionality provided by default within keyboard-enabled buttons. I decided to concentrate the logic into a single Self-contained Component.
export const KeyboardRippleButton = forwardRef<HTMLButtonElement, KeyboardRippleButtonProps>(
  ({ keyboardKeys = [], onKeyboardTrigger, rippleDuration = 150, children, ...buttonProps }, ref) => {
    const internalRef = useRef<HTMLButtonElement>(null);

    // Ripple trigger logic
    const triggerRipple = useCallback(() => {
      if (!internalRef.current) return;

      const button = internalRef.current;
      const rect = button.getBoundingClientRect();
      const centerX = rect.width / 2;
      const centerY = rect.height / 2;

      // Integration with MUI ripple system
      const clickEvent = new MouseEvent("mousedown", {
        bubbles: true,
        cancelable: true,
        clientX: rect.left + centerX,
        clientY: rect.top + centerY
      });
      button.dispatchEvent(clickEvent);

      setTimeout(() => {
        const mouseUpEvent = new MouseEvent("mouseup", {
          bubbles: true,
          cancelable: true,
          clientX: rect.left + centerX,
          clientY: rect.top + centerY
        });
        button.dispatchEvent(mouseUpEvent);
      }, rippleDuration);
    }, [rippleDuration]);

    // Keyboard event handling
    useEffect(() => {
      if (keyboardKeys.length === 0) return;

      const handleKeyDown = (event: KeyboardEvent) => {
        if (keyboardKeys.includes(event.key)) {
          event.preventDefault();
          triggerRipple();
          onKeyboardTrigger?.();
        }
      };

      document.addEventListener("keydown", handleKeyDown);
      return () => document.removeEventListener("keydown", handleKeyDown);
    }, [keyboardKeys, onKeyboardTrigger, triggerRipple]);

    return (
      <Button ref={internalRef} {...buttonProps}>
        {children}
      </Button>
    );
  }
);
Key Takeaways: Lessons in Architecture Design
Over-abstraction can be poison
Initially, I tried to separate everything for "reusability", but in reality:
I created a complex structure for a simple feature, and
increased maintenance burden for the sake of maintainability.
Think about actual use cases first
// Actual usage pattern
<KeyboardRippleButton
  keyboardKeys={["ArrowLeft"]}
  onKeyboardTrigger={navigatePrevious}
  variant="outlined"
>
  Previous
</KeyboardRippleButton>
What was needed for this use case was a simple API. Complex hooks or multiple files weren't necessary.
Advantages of the Self-Contained Pattern
Simplicity: All logic concentrated in a single file
Easy to understand: New developers can quickly grasp it
Easy to test: Testable as an independent component
Performance optimization: Prevents unnecessary re-renders
Additional Features and Performance Optimization
Multiple Keyboard Key Support
// Multiple key support
<KeyboardRippleButton
  keyboardKeys={["Enter", "Space"]}
  onKeyboardTrigger={handleSubmit}
>
  Submit
</KeyboardRippleButton>
Customizable Ripple Effect
// Adjustable ripple duration and center point
<KeyboardRippleButton
  keyboardKeys={["ArrowRight"]}
  rippleDuration={300}
  rippleCenterOffset={{ x: 10, y: -5 }}
>
  Next
</KeyboardRippleButton>
Seamless Integration with Other Components
// Usage in CommonModal
<KeyboardRippleButton
  keyboardKeys={["ArrowLeft"]}
  onKeyboardTrigger={navigation.onNavigatePrevious}
  disabled={!navigation.hasPrevious}
  sx={{ /* styling */ }}
>
  <ChevronLeftIcon />
</KeyboardRippleButton>
Memoization with useCallback
const triggerRipple = useCallback(() => {
  // Ripple logic
}, [rippleDuration, rippleCenterOffset]);
Precise Dependency Management in useEffect
useEffect(() => {
  // Keyboard event logic
}, [keyboardKeys, onKeyboardTrigger, triggerRipple]);
Automatic Cleanup Handling
return () => document.removeEventListener("keydown", handleKeyDown);
Conclusion: Simple is Best?
Always keep in mind: clarify the purpose of solving the actual problem, guard against over-engineering, and prioritize user experience...!